
One of the notable new features of iOS 17 is the smart horizontal display mode for iPhones when charging. Featuring various clock faces, widgets, access to photos, and more, here’s how to use and customize iOS 17 iPhone StandBy.
iOS 17 comes with several changes to Messages, FaceTime, the Phone experience, and more.
However, one of the most attention-grabbing features might be the new iPhone StandBy view, transforming your smartphone into a mini smart display similar to Amazon’s Echo Show.
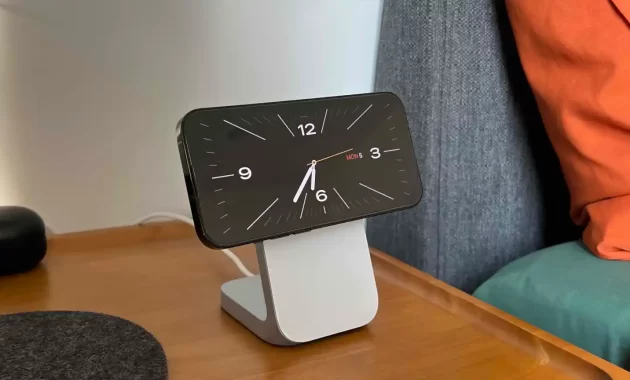
Shown above and below, I am using the Nomad Stand One MagSafe charger. Here’s how StandBy works.
iOS 17 iPhone StandBy: How to Use and Customize
- Ensure you are running iOS 17.
- When your iPhone screen is locked, place the device horizontally on a vertical charger (this mode won’t work on flat or low-angle chargers or when your screen is unlocked – and it must be charging).
- iPhone StandBy will automatically appear – this feature is enabled by default.
- StandBy works on any iPhone that can run iOS 17, but you will need to tap the screen to see the clock, widgets, photos, etc. – iPhone 14/15 Pro/Pro Max in always-on mode will always display the StandBy screen.
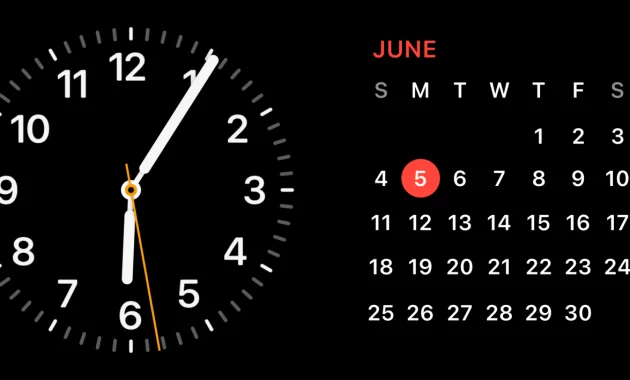
- The classic analog clock along with the calendar widget on the right is the default StandBy view; swipe up to change them.
- Press and hold either to add or remove widgets.
- In the first StandBy view, swipe broadly from right to left to change the view.
- Press and hold other StandBy views to customize them.
- iOS 17 iPhone StandBy supports Live Activities, Siri, incoming calls, and larger notifications.
- StandBy remembers your “preferred view” and turns red at night.
- You can adjust StandBy settings by going to Settings > StandBy.
- Check out our latest third-party app roundup for StandBy widget support.
Here’s how to use iPhone StandBy on iOS 17:
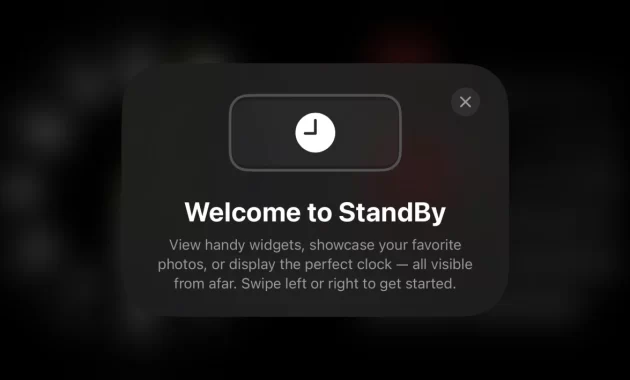
The first time you place your locked iPhone horizontally on a vertical charger, you will see the welcome screen.
Now you will see this as the default StandBy view:
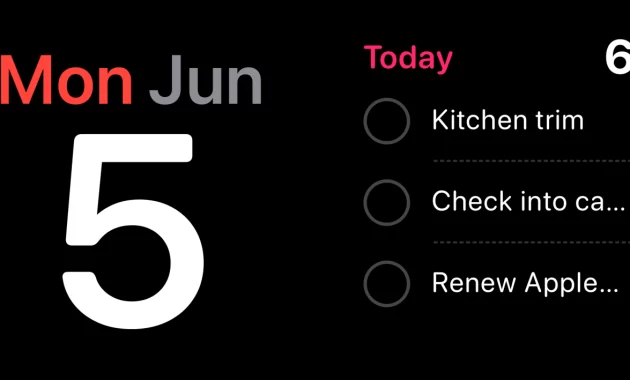
Swipe up on the clock face or calendar for more options (calendar is the smart stack suggestion by default):
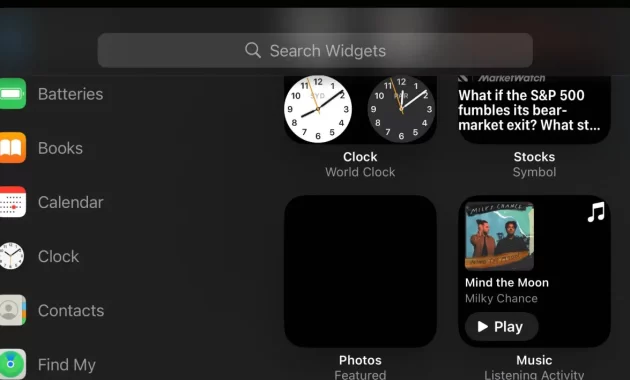
To further customize this StandBy screen, press and hold the widget on the left or right. Now you can remove the option or tap the + icon at the top left to add a widget:

From the first clock/widget StandBy view, you can swipe from right to left to access the Photos StandBy view:
And swipe again for another final view with different customizable clock faces:
According to 9to5mac.com.


